A little less than one year ago, I had started my history of barefoot hiking, by electing to climb suicide cliff. Since then, I climbed several other times on Kowloon Peak, some times by night, other times with my daughter… But I did not go back on the Southern ridge, climbing the steep walls that lead to suicide cliff… Until now! In October, I started my second barefoot hike on suicide cliff.
An early start
As suicide cliff can get quite frequented later during the day, it is preferable to climb in the morning. I thus prepared myself to start my hike around 9.30 AM, and obviously, even if not recommended, I climbed alone. Early departure allows also to skip the issues with sun beating down on the mountain later in the day.
I started off barefooting from home. While initially, it was uncomfortable doing so with the guards at my condo, with time it got easier as I tend now to run and hike barefoot quite regularly.
What changed from one year ago?
To be honest, no huge changes affected the trail this year. There were however two noticeable differences: a small tree fell across the trail at the beginning, consequence of the typhoon Mangkhut, and there is now a stark warning about climbing to suicide cliff.
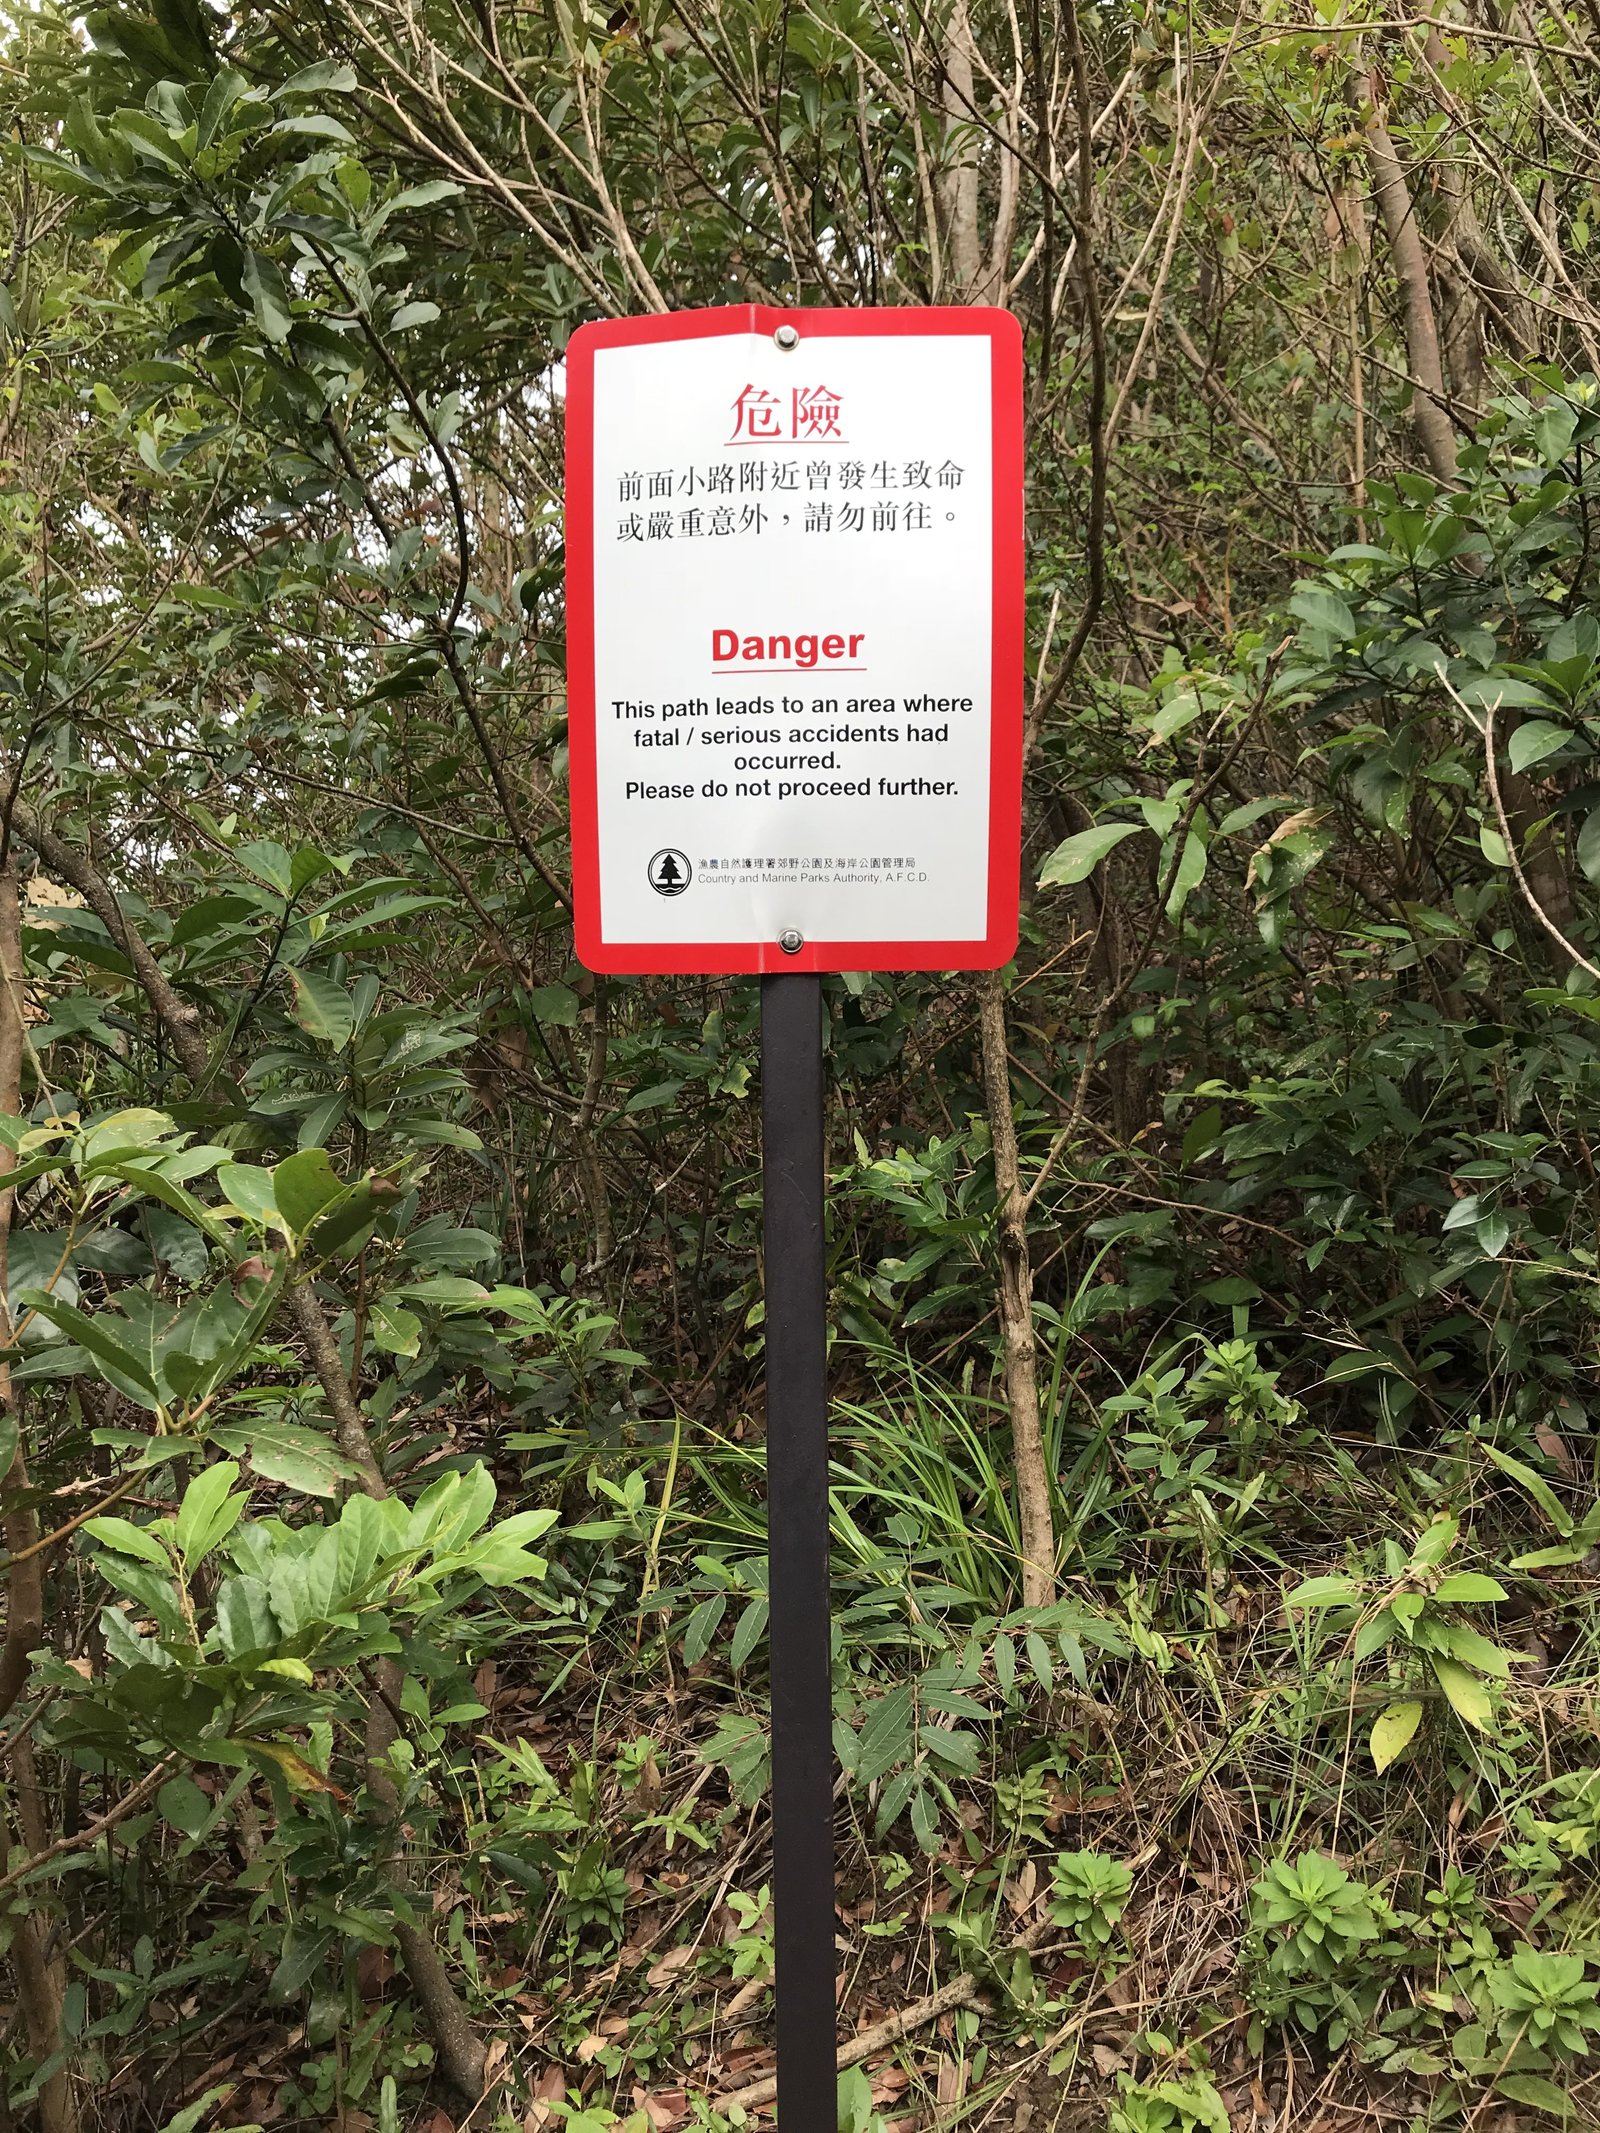
These boards are also affixed at the other main entrance to Kowloon Peak, namely the stairs. Besides these warnings, the hiking conditions on the path have not significantly deteriorated from one year ago, so hiking is still very practicable.
Despite this, it seems hikers get regularly stranded or even disappear on this mountain. It is thus not an endeavour to undertake alone. I provide a walkthrough in this post, but please do not climb the mountain alone if you are unfamiliar with the place.
The initial climb
As this time, I had a gopro camera with me, I filmed the main parts of my climb, mainly to give a feeling of what it is to hike on this route. I would invite you to watch the climbing videos in order for you to better understand the challenges, especially if you plan on climbing for the first time.
The start is taking place in the forest as starters.
The beginning of the climb is not really serious. Most of this path takes place within the forest, and you can grip to rocks or branches to secure your climb. The real technical part of the climb starts once you are out of the forested lower part of the mountain.
The fork
At a point, you are going to reach a fork in the path. To the right is the most challenging path (which eventually joins the first one), but I do not recommend using that path. One of the reasons being that I never took it, the second being that it is way more sandy than the other side. At any rate, I filmed the passage across the small stream, but be aware that the ropes which have been placed there are used and should not be relied upon.
Rock scrambling
The second part of the climb, once you are out of the bushes is something of a rock scramble, more than a hike. You need to use all of your body to pull yourself up. This is a quite physical effort, which means that you can easily be drained after climbing the rock for two hours.
Open Air
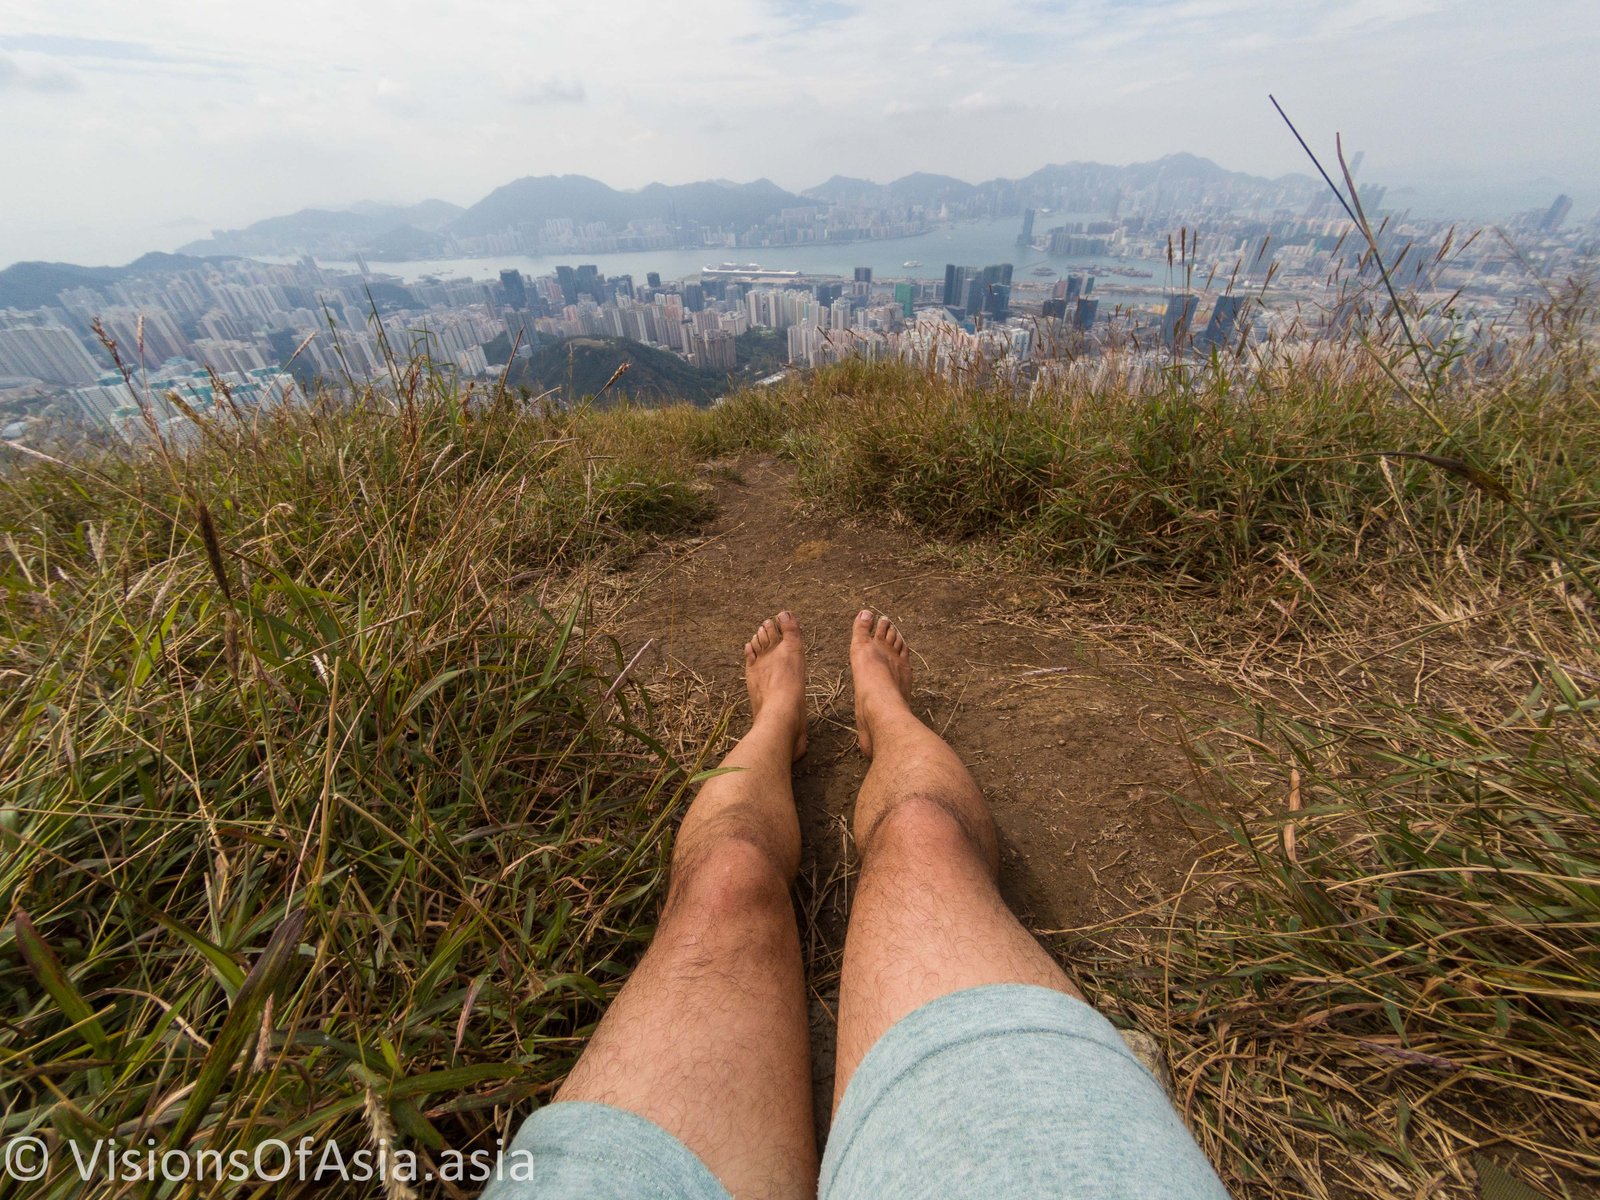
After all the rock scrambling, you will arrive to a plateau, where there is sufficient space to ensure that you can rest. The view on the city is also quite gorgeous at that point, and it is where you will take a breather after the intense efforts. This is where I flew my drone too, but had to land it quickly, as the wind was threatening to fly it against the mountain or have it escape my control. For being short, this video does a good job of providing a contextual view of the mountain.
I then resumed my climb, as it was the final leg towards suicide cliff.
The ledge to suicide cliff
Before getting to suicide clfif, proper, you must walk a tight ledge. Explaining how it looks does not help much, and you will only feel the thrill when you walk it yourself.
Needless to say, while looking very risky, this ledge is large enough to be walked along comfortably. Nevertheless, it is best to be slightly slanted towards the mountain, in order to avoid any loss of balance tipping you cliffside.
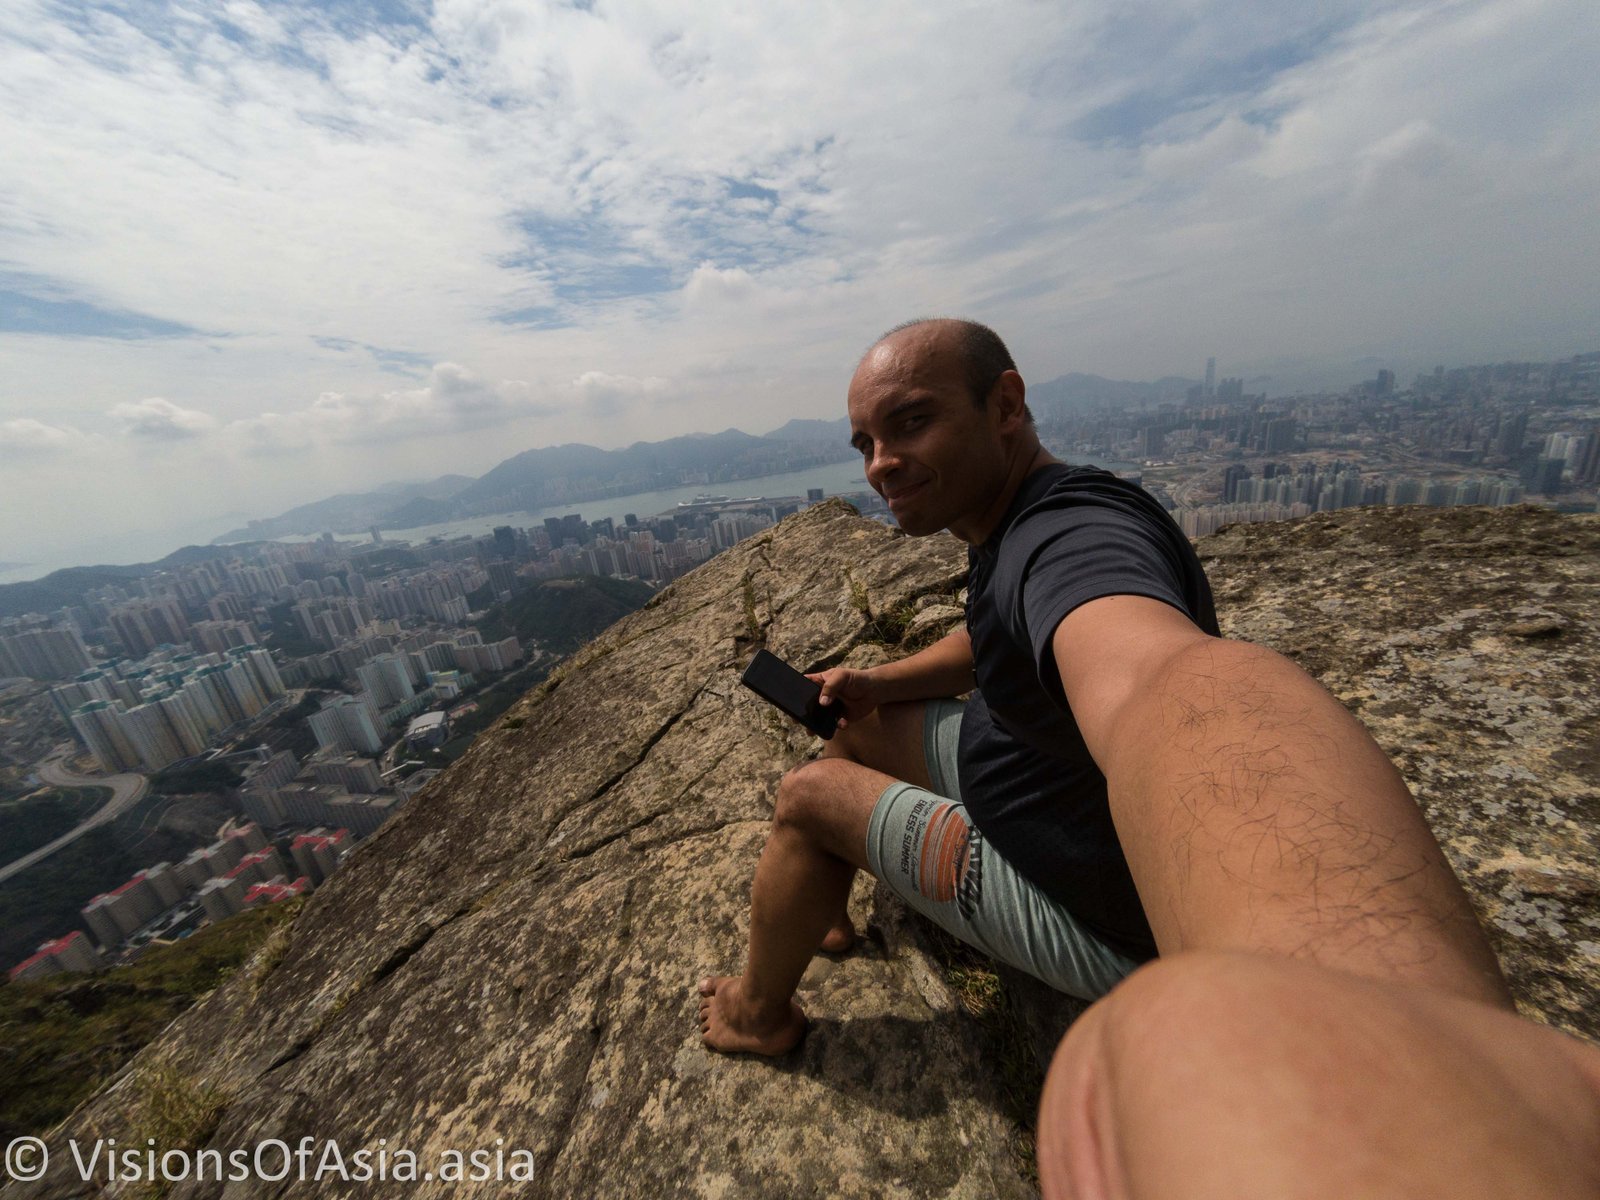
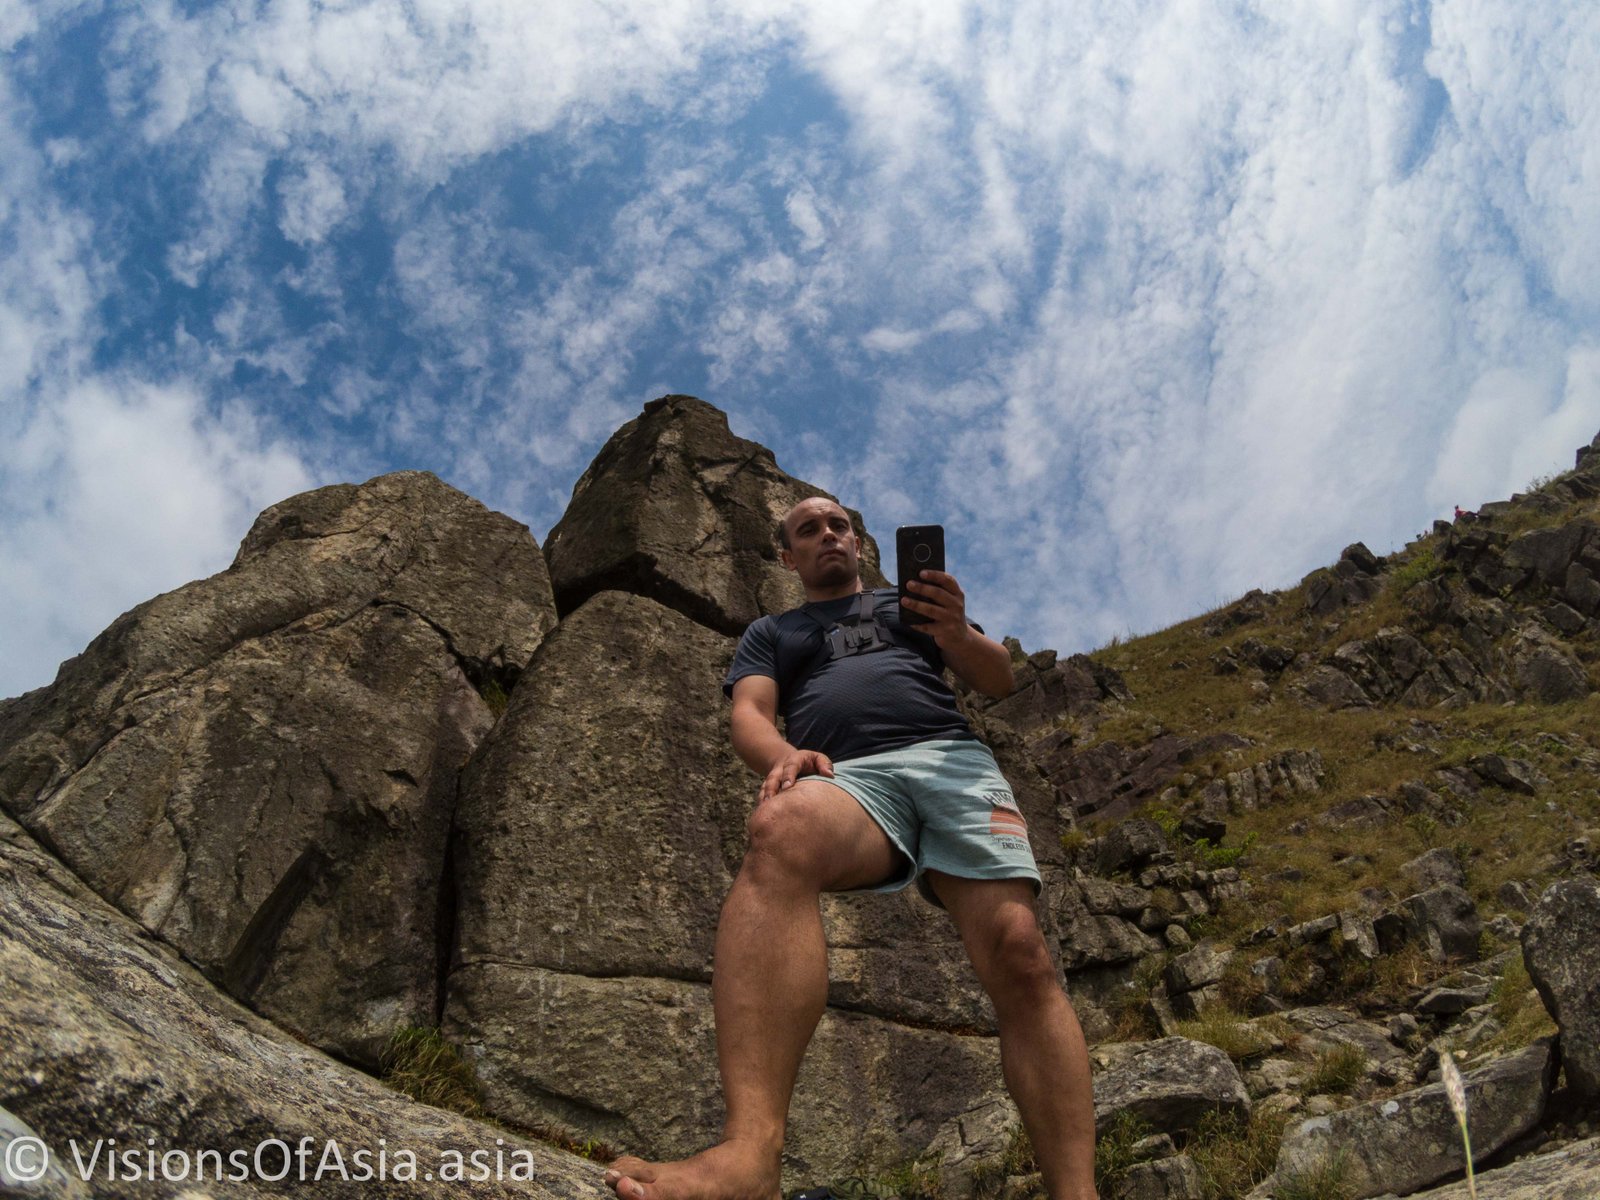
Obviously, on suicide cliff, the necessary selfies must be taken…
Scrambling upwards
Rock scrambling does not end with the suicide cliff. Not in the least. To get away from suicide cliff, you can only go down by the same path you came up (very steep) or continue climbing upwards (and that involves some more rock scrambling).
While not terribly technical per se, this involves however passing on a narrow ledge giving on a ten-meter cliff. Here again, unless you are scared of heights (in which case you should not even be attempting this climb!), no real issue. Just remember that taking your time and advancing prudently is key to hiking safely.
Once you get over that part, then, you must still get around a huge boulder, and it is not obvious unless you have already been there (although you can just follow the trail in the vegetation).
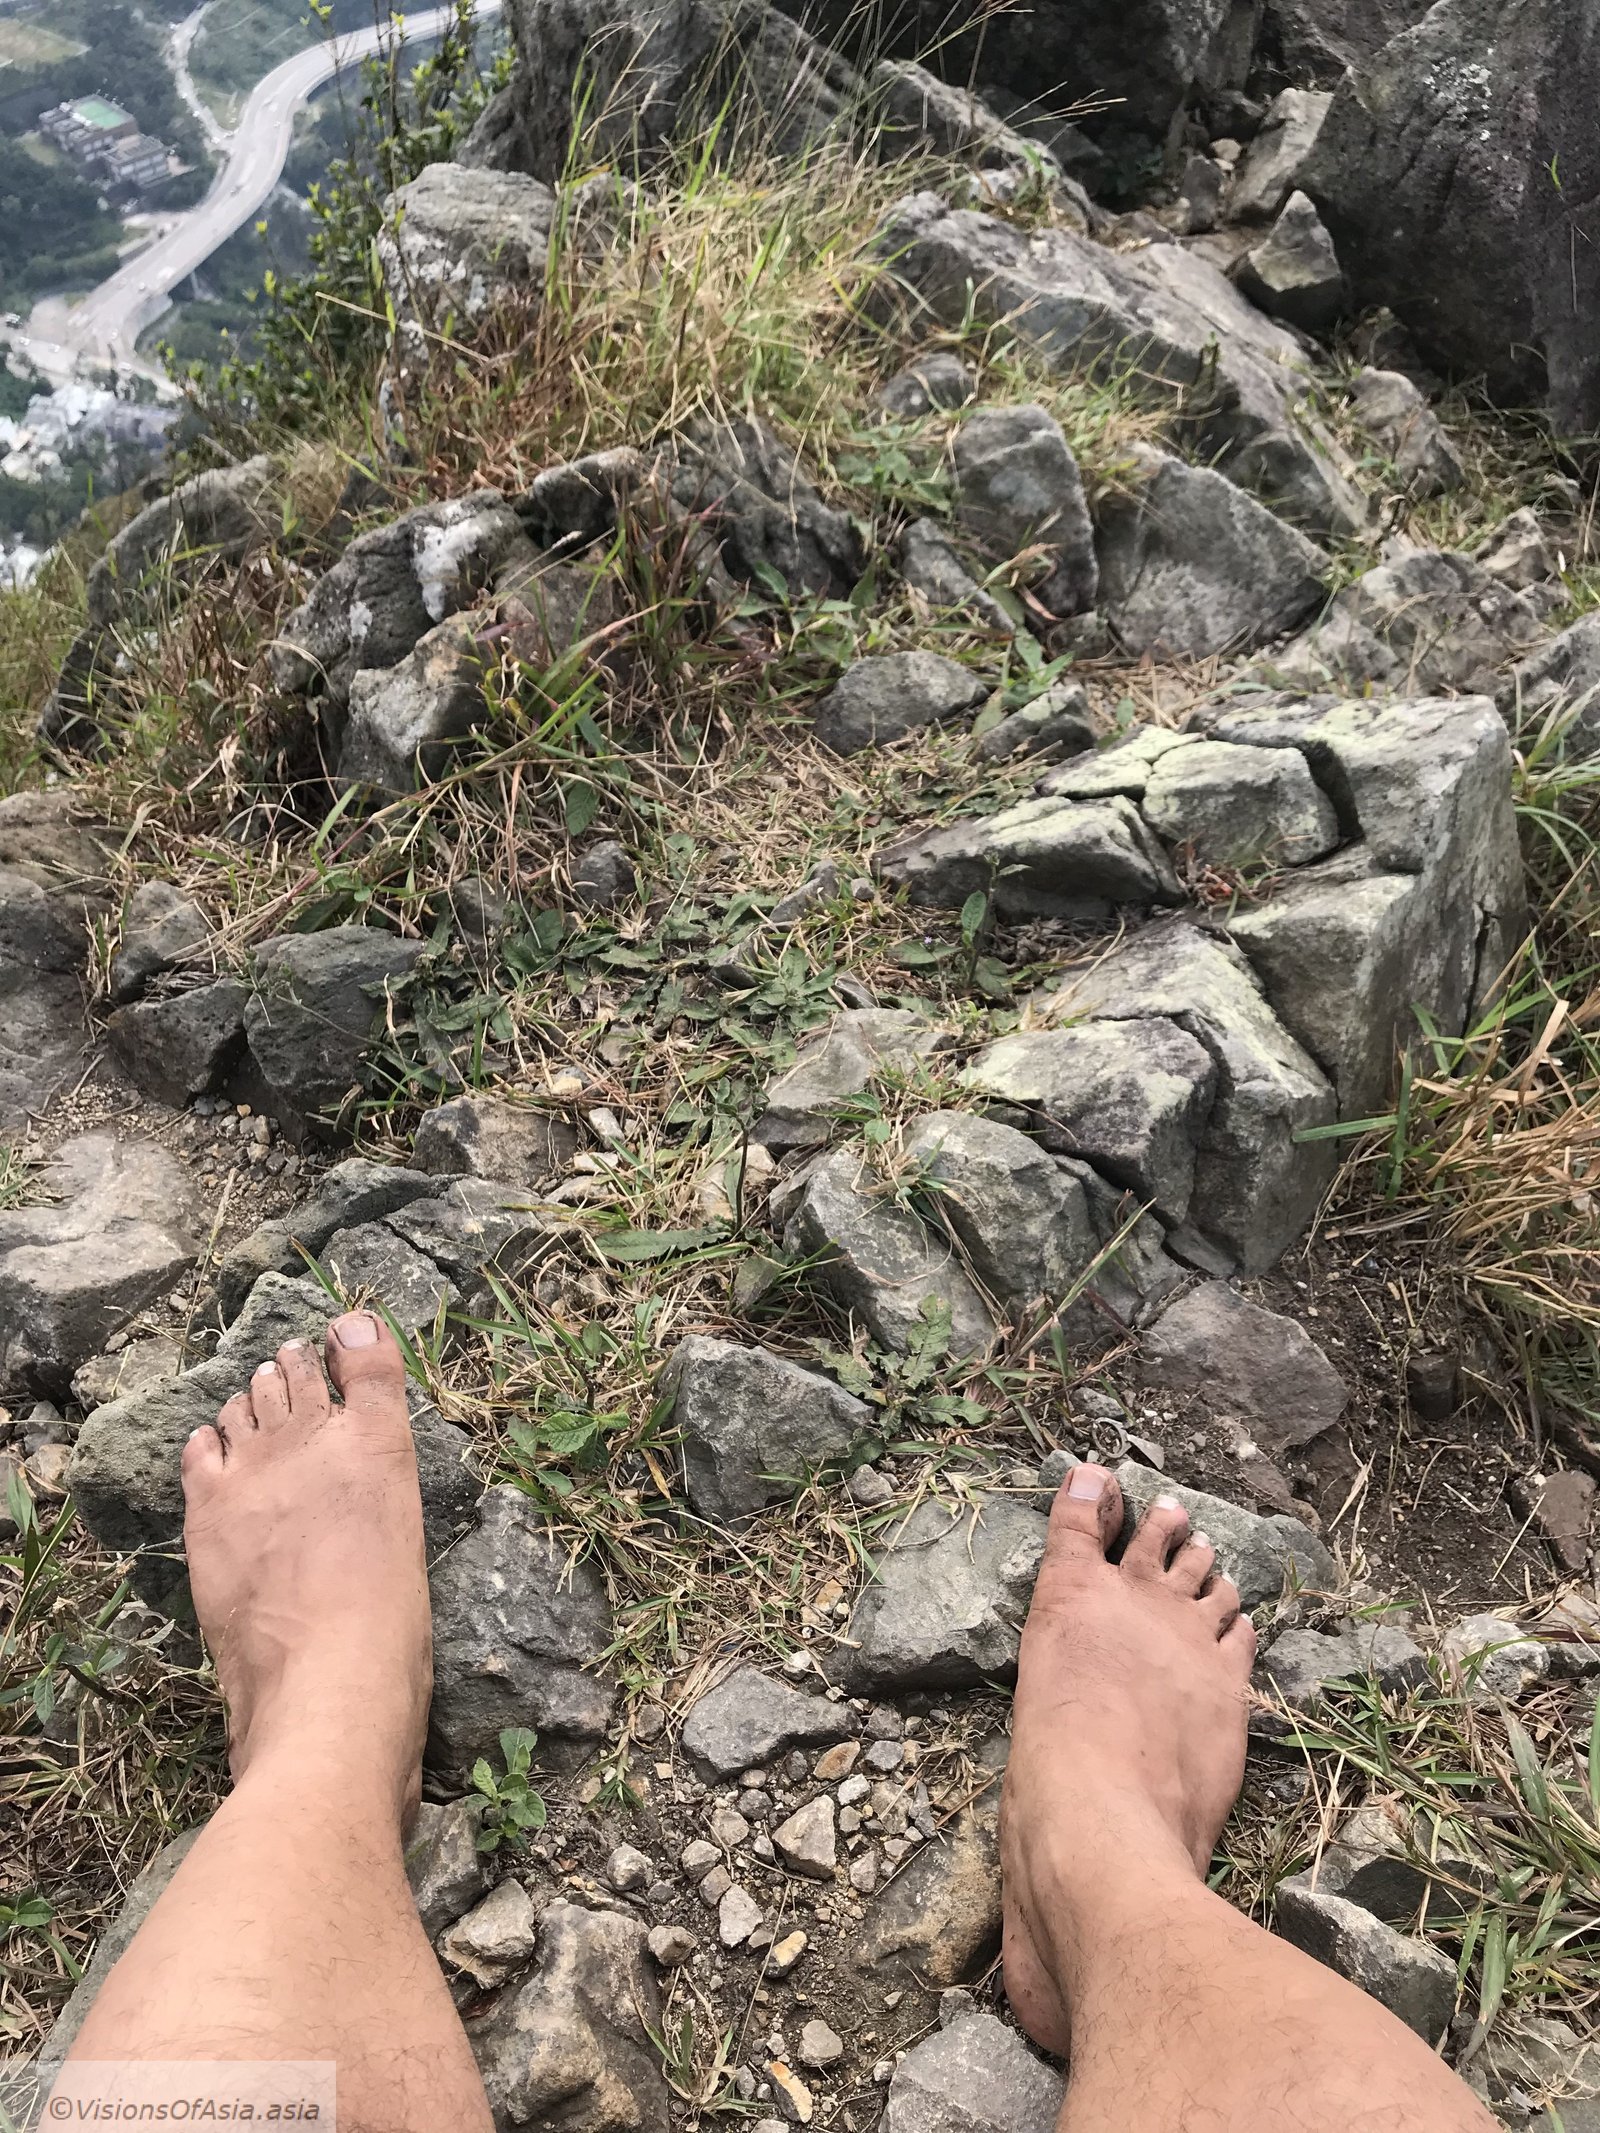
Once at the top, you end up with big stones and rocks that can be a bit technical to navigate barefooted, but perfectly feasible. Here is an example:
Ending the hike
The final leg of the hike involves both getting around a communication tower with barbed wires and climbing to the radio tower and the helipad.
The last part of the hike is going down the stairs. Under no circumstances think about taking the “shorter” way down on Jat’s incline side! That route is treacherous and extremely dangerous, please always take the stairs, they present no risk at all.
As a conclusion, my advice is once again, to be very careful. It is always prudent to start a hike on a new route with someone who already knows the route. And if you wish to start a hike barefoot, make sure you recognized the terrain beforehand and that you pack a pair of shoes (there is no shame in adapting to the terrain). Finally, don’t think you need to prove anything by taking the most dangerous routes when there are less dangerous ones available. Kowloon Peak is a famous mountain, but it stays a mountain. It must be respected and handled with caution. Safe climbing!

