A general word of warning: t I only list here gear that I am effectively using and which I own as well. I purchase all my gear myself, with no support or sponsorship from anyone.
The two schools
When it comes to deciding what gear to use for photography, two schools face off: the first, correctly asserts that it is not the gear that makes the photo, it is the photographer. The second, mostly believed by amateurs, thinks that if you don’t have the gear, you won’t be able to take nice pics.
The reality, however is a bit in the middle. You do not need ultimate gear to shoot nice pics, but you need a vision some knowledge of composition and… often some guts.
This being said, if you have a vision and you know what you want to shoot, sometimes, you can be limited by your gear. This not to say that the limitation cannot be useful: if you have only a 50 mm, you can still take atmospheric street photography shots. The photo below, for example, was shot with a 50 mm f1.8.

Wide angle for street photography?
However, real street photography is generally taken at very close quarters. You would need a lens from 20mm (my working lens) to 35 mm. Look at this pic, for example. Perspectives are often more dynamic, and the viewer will feel “thrown” into the picture. My preference for the 20mm comes from often shooting at night (the 1.8 aperture does help!) and in crowded areas, where that focal length allows to capture the vibe going around you.
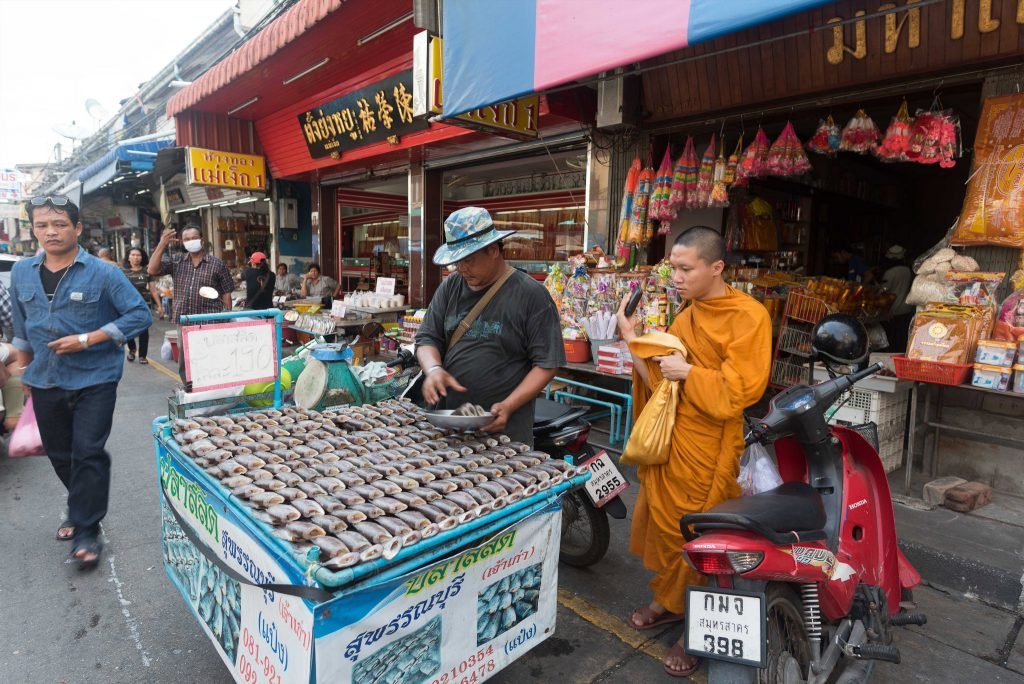
Conversely, to use compression or detach a subject from the background (for example in portrait photography) you will want to use a tele lens. This can also be done by cropping a picture, but then you will lose resolution.
With that said, everything depends of what you are shooting.
So what gear?
If you are a beginner, first find what you like shooting with the basic gear that you have. The basic 18-55 which is generally provided in the starting kit should do. Do not fret about not being able to take nice pictures at first, but get your basics down first and work on mastering the basics of photography (composition, technical aspects). Once you have identified the style of photography which most appeals to you, then you may move on to get the gear that will help you to shoot that particular subject if you feel unsatisfied with your basic lens. You will not really progress if you start by purchasing gear which you don’t know how to use.
What is my equipment?
With these advice out of the way, let us talk about my own gear. My very first camera was a film camera, the Canon EOS 600 along with a 35-105mm, f. 3.5-4.5. To be honest, I really sucked when I first started, and practice was not inexpensive as with digital cameras. The below is one of the best pictures of that period of film camera. Unfortunately and very humbly, I can say that I did not progress much with photography in that period (circa 1990-2007), mainly because of the lack of practice.
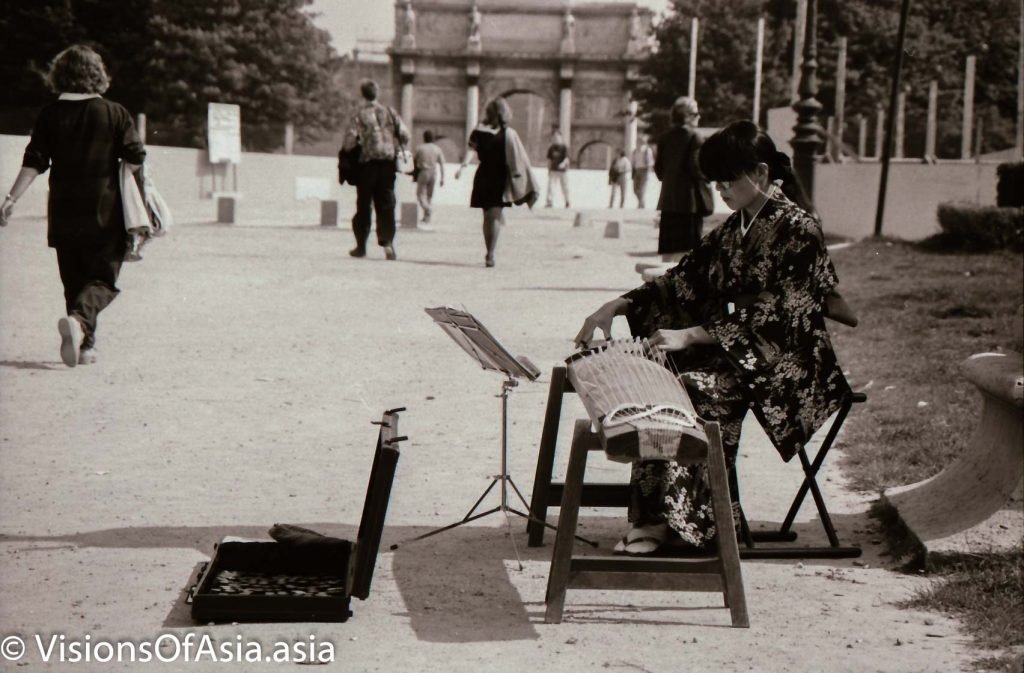
The development of digital photography was when I started progressing.
From Canon…
I started digital photography with a Canon EOS 40D.
For a long time I shot with the stock 17-85mm f.3.5-4.5 of the starting kit. It came with with its limitations and issues (mainly the limited wide angle and reduced aperture), One day it gave up on me (internal motor failure). I bought as replacement a Tokina 11-16 (very wide angle), and an EF-s 55-250mm (the latter saw a lot of service in Thailand). My 50 mm f.1.8 was still part of my gear. Although my Canon has seen a lot less action recently, it has still been quite useful for situations where I needed some magnification.
…to Nikon
My real run-of-the-mill gear since a 2014, is the full format Nikon D750 FX-format Digital SLR Camera Body. Originally, I purchased it with a Nikon 50mm f/1.8
and the 24-120mm ki
t. Later, I added a Nikkor 20mm f/1.8G
(which has since become my preferred lens for night photography). Among other ancillary gear, a tripod and a Nikon flash SB-910, as well as a Nikon remote control. A very recent purchase has been an 80-200 mm f./2.8, which is excellent for (among others) night portraits. I also acquired more recently a somewhat heavy Sigma 120-300 f./2.8.
The elephant in the room: switching from Canon to Nikon
Let me address the elephant in the room: my switch from Canon to Nikon. Firstly, I do not feel necessarily partisan towards one brand or the other. Both brands produce cameras that can take quite lovely pictures. And having seen Fuji cameras, they also produce quite lovely photographs.
However, at the time I bought the Nikon, within my budget, I had a choice between the EOS 6D and the Nikon D750. The 6D was being long in the tooth, had less functionalities and was built on an older technology than the D750.
Switching to full format (the EOS 40D is a crop sensor camera) entailed that I could not use any of my current lenses with the new camera, I felt that I might just as well take the leap and change manufacturer. I could have gone for the D810 too, but I wanted to keep some budget for lenses. I thus started simply with the kit 24-120, and a 50 mm f.1.8. Later, I added the 20 mm Nikkor f. 1.8, and earlier, in 2017, I found a mint 80-200 mm second hand in Hong Kong.
In 2021, I acquired a Nikon D850. The D850 took really photography to another level because of the image quality.
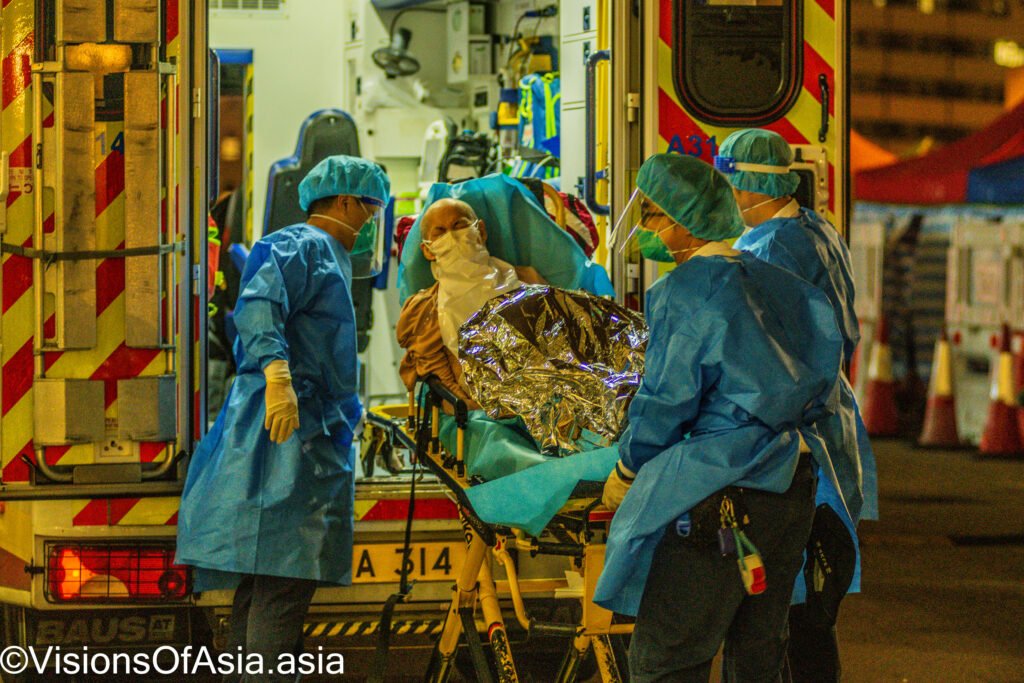
I cannot say buying any piece of gear makes your photography better (if you don’t know how to compose a picture with a 100 $ camera, you still won’t get better at it with a 1000 $ camera). However, once you have some degree of proficiency, each additional piece of gear will most likely take your practice to another level. That does not mean buying more and more. For now, I know that buying some pieces of kit would not make sense (like a 150-600mm zoom), but that is given my current practice. Photographers who shoot animals or birds might find that kind of lens more useful.
Other gear
What other gear is there? Oh, a tripod and remote control are used, you may have guessed it, to shoot night photography such as the one below. They allow to minimize vibration on your camera (important to get crisp shots). The tricky part: not forgetting to put off the vibration reduction on your lens when using a tripod, otherwise you may still get some blur due to the micro-movements of the stabilizing elements inside your lens.
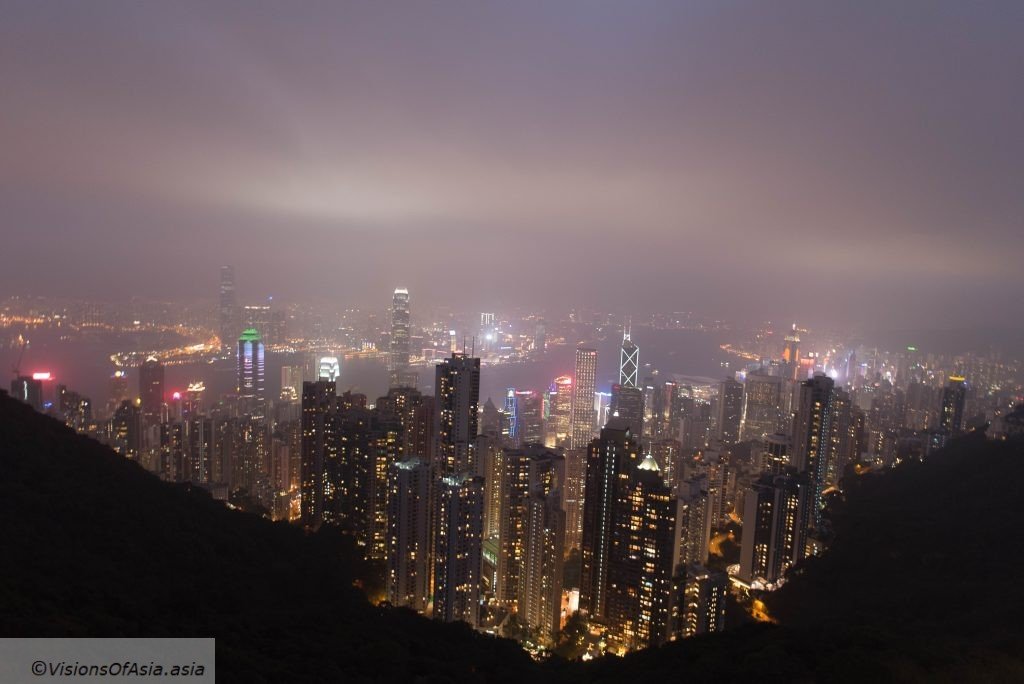
Carrying a tripod around seems pretty easy, when are in city. Now, try lugging the tripod on top of your gear when climbing a mountain! That’s what I did each time I climbed on Kowloon Peak or Lantau peak for that matter. See below for a picture of the night hike on suicide cliff.
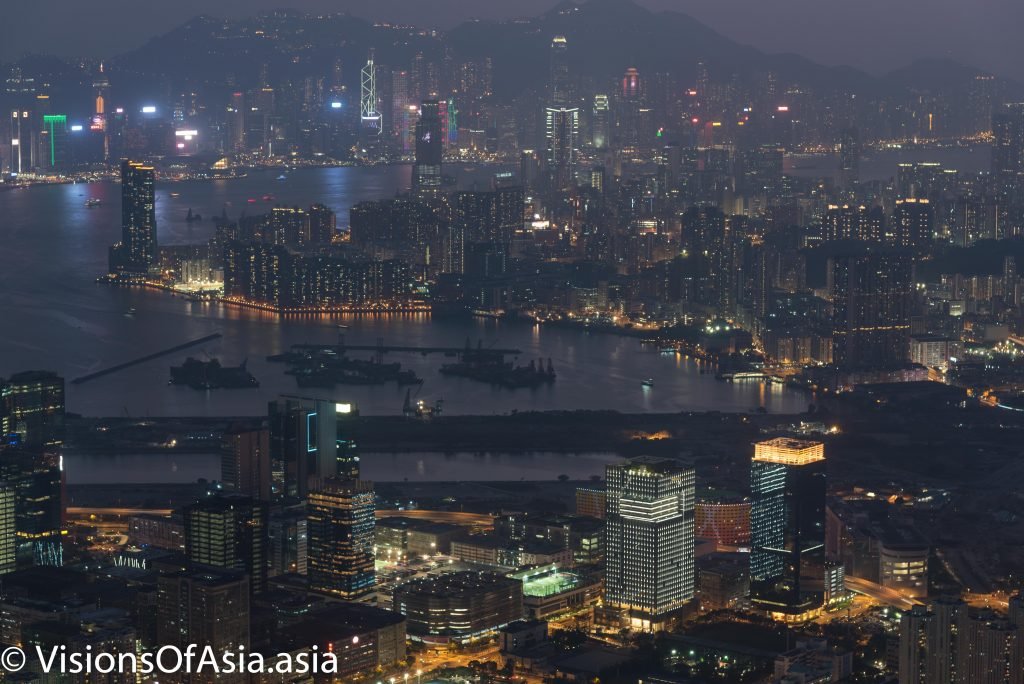
I did not give up totally on my older Canon. While I am ravished by my Nikon, look a bit at this pic with my Canon 40D, purchased in 2007 (10 years ago!). It still manages to take quite decent pics. However, in 2019, the camera is definitely dead and I had to retire it.

Street vendors in Hanoi.
Drone Photography
End 2017, I acquired a drone, a Mavic Pro from Dji in its “fly more” combo. This is allowing me to add a different point of view in my photography. I later tweaked the Mavic, adding a set of the new low-noise propellers. You can see some examples of the footage I filmed or the pictures taken on this blog.
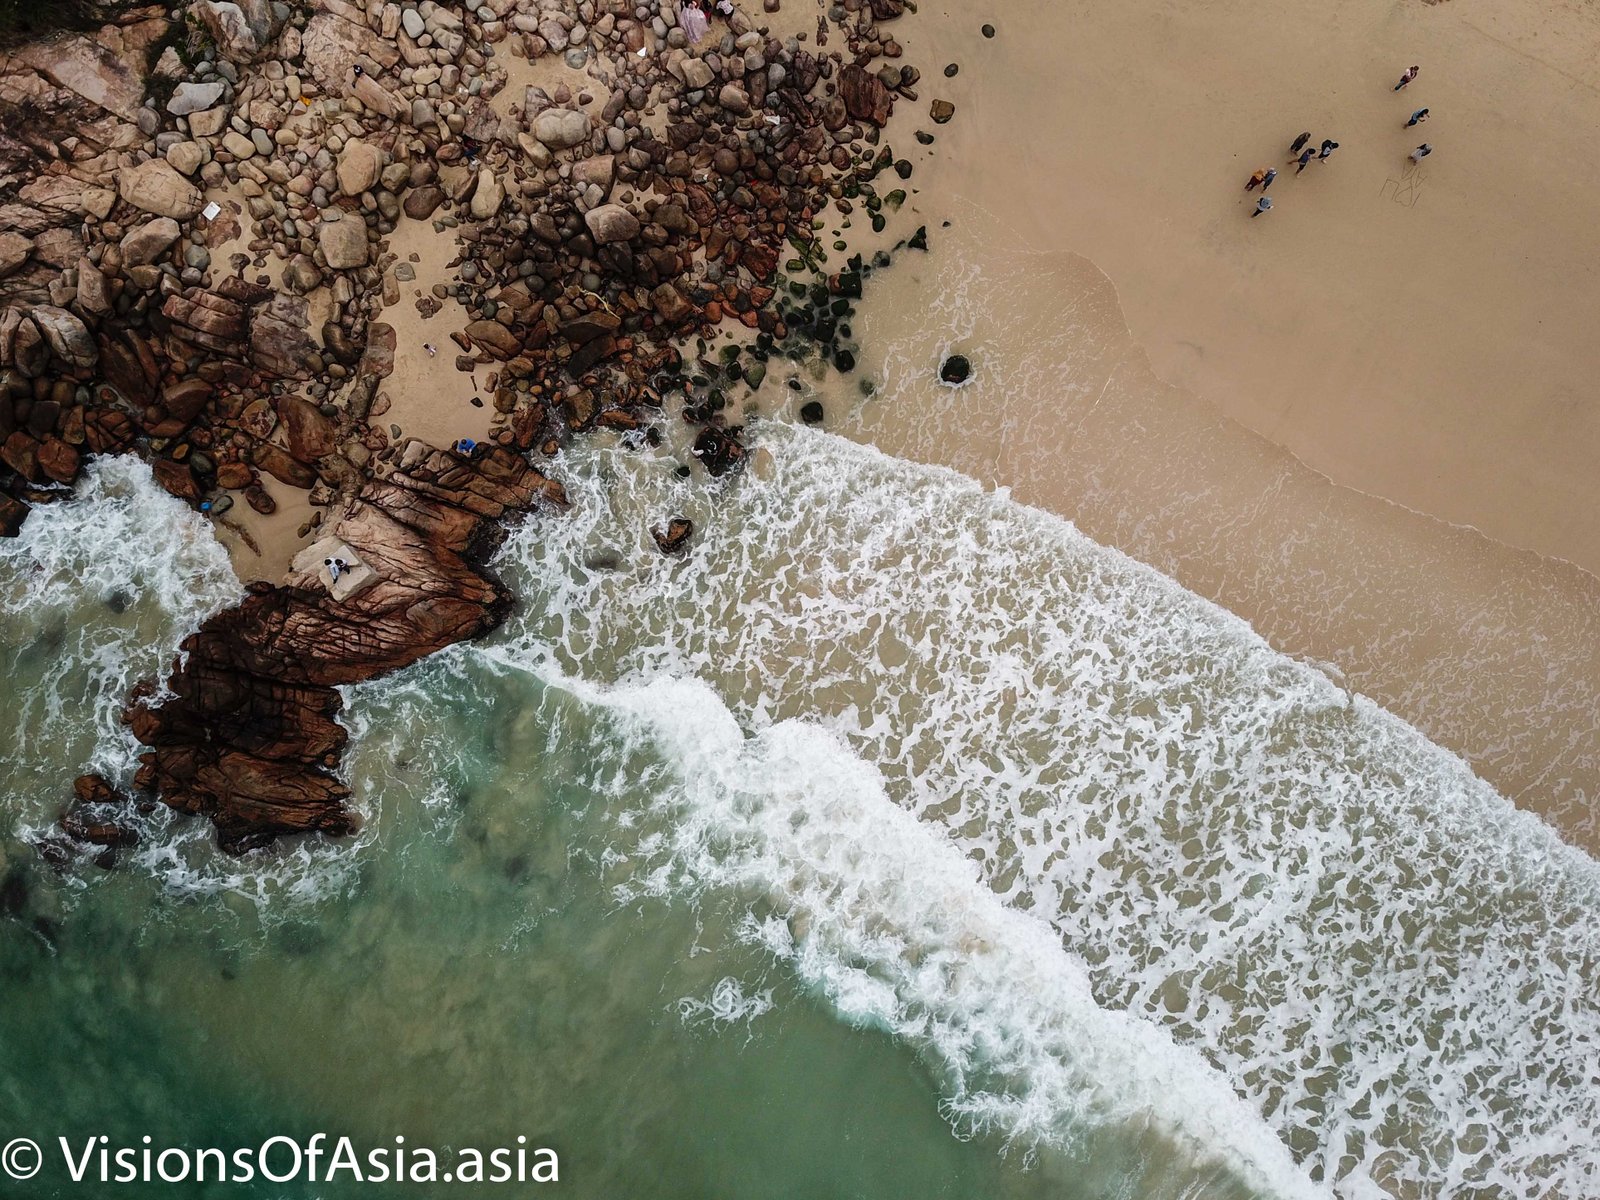
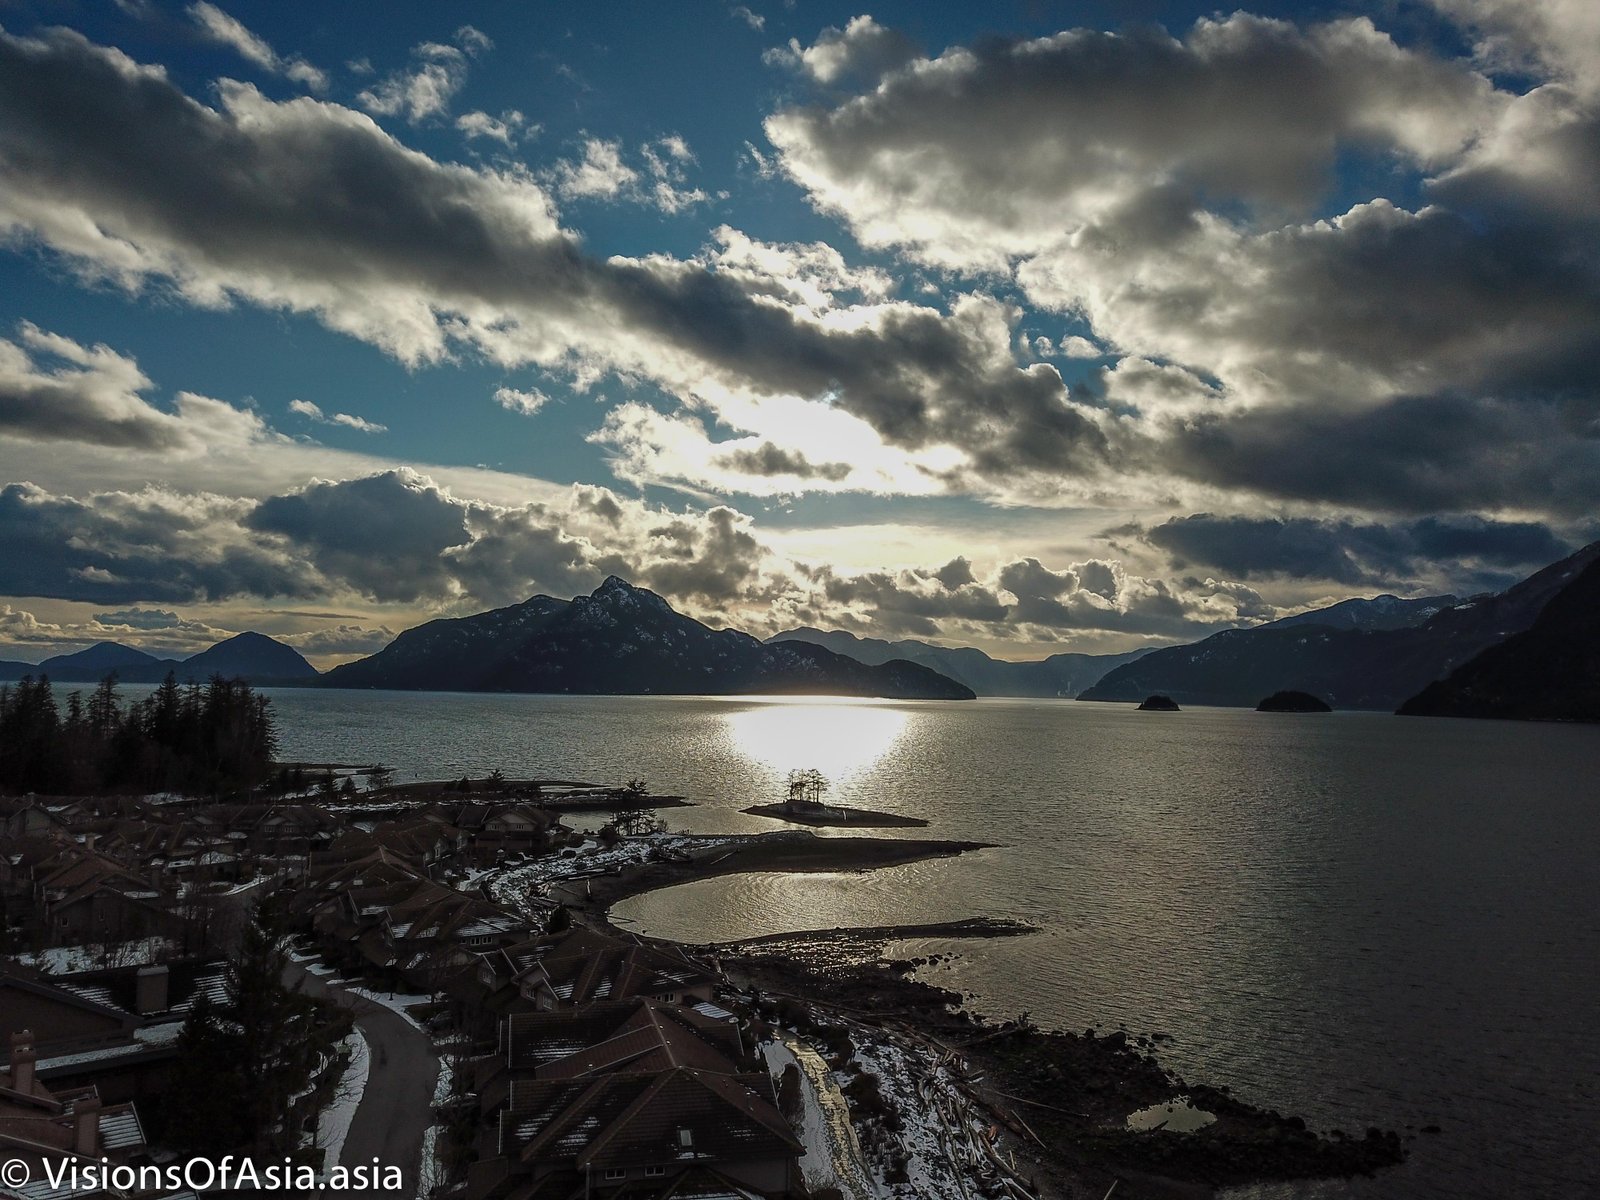
A Mavic Pro may not be the best tool for you if you are thinking about flying a drone. I cannot recommend other drones, because I did not test them myself, but there are rapt reviews on the web to make up your mind. Just be aware that flying a drone is one thing, flying responsibly is another. There is a learning curve in maneuvering and operating safely a drone, and if you purchase one, you must be willing to dedicate time to work on these aspects.
Local laws also restrict sensibly the usage of drones, although Hong Kong or Finland are still pretty cool about this aspect. You should respect the laws and be aware of some basic principles of radio transmission (as for example that trees or buildings do stop the radio waves). This triggers a direct consequence, for example, when planning your return to home (RTH) route. If your drone has to go around a building, it will total itself, as it generally takes the shortest route to the remote control. One of the solutions to this is is to always fly in line of sight, and the other is obviously to configure your drone to fly to a height sufficient to ensure a RTH safe altitude.
And finally a Go Pro
As I hike a lot, it became interesting to have a FPV vision on my hikes. It is thus that I got myself recently a Go Pro Hero 5. This allowed me to register a number of videos on my hikes. Here is an example:
In 2019, I upgraded my gear to a GoPro Hero 7, which offers the additional advantage of having a stabilization incorporated, allowing me thus to film many of my action footages on the Hong Kong protests.
With all that said… The most important is to go out and shoot! Whatever your gear, don’t just let it sit. Since we passed to digital photography, taking pics has become inexpensive past the initial purchase of the gear. So, go out and shoot and review critically your pics.
